I realize many aficionados of the sewing arts already know about waxing thread but I wanted to share the pros of beeswax with all. When I learned how to sew, I was taught the very basics which included cutting many corners and not one iota of information about hand sewing. This is why my hand stitches always look amateurish and why I hate sewing unless it involves a machine. Correction, hated sewing without a machine. I've failed to complete so many projects because it required a hem to be hand sewn or a button to be hand sewn. I've cursed and thrown things, all because of twisted, tangled, knotted thread.
I bought some beeswax in preparation for Susan Khalje's sewing class. Flip the package over and there are no instructions about how to use the beeswax. So the following video shows you how to melt the beeswax and I had a "duh" moment. Hand sewing is no longer a huge pain in the you-know-where. It's actually kind of relaxing.
Wax the thread first! (Fast forward to 45 seconds in this video). You'll never curse thread again.
So I was feeling pretty impressed with myself and decided it was time to learn some proper hand stitches. First up is the overcast stitch. I generally use my sewing machine to zig zag the edges to keep them from raveling. Sadly I was on a business trip sans sewing machine and in need of a hem for three pairs of pants. I did a single row of overcast stitches on the raw hem edges of all 3 pairs of pants.
This pair of pants below has been through the washer and dryer twice since I hemmed them so I'd say I did a pretty good job of keeping the raw edges from raveling.
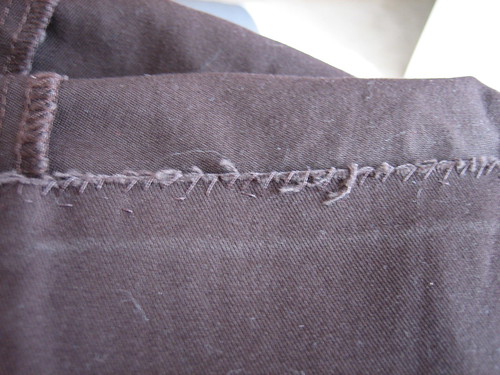
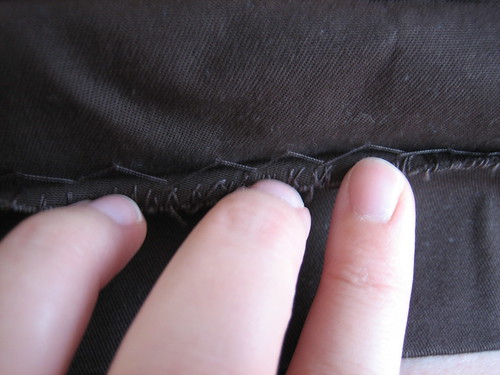
My overcast stitches were running vertically, instead of slanted so I hold the needle with my right hand and use my left thumb (just to the right side of the thread) to guide the thread to a slanted angle. Claire Shaeffer recommends a second row of overcasting in the opposite direction for heavier materials. This technique is called the "cross your hand" stitch and should look like a row of "X" stitches. I stress should look like an "X."
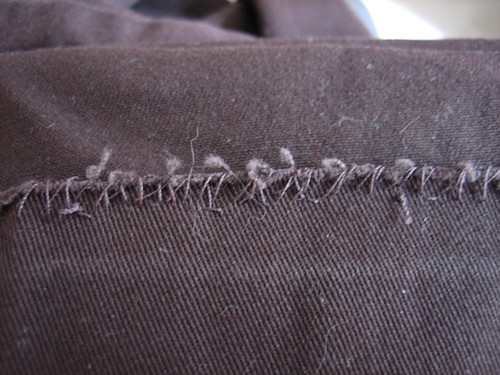
Hmmm...not exactly right and also a waste of effort on this particular weight of cotton twill so I didn't bother trying this on the rest of the pants.
I had much better luck with the blind catchstitch. I like invisible hem stitches and the blind catchstitch also provides some stretch in the hem.
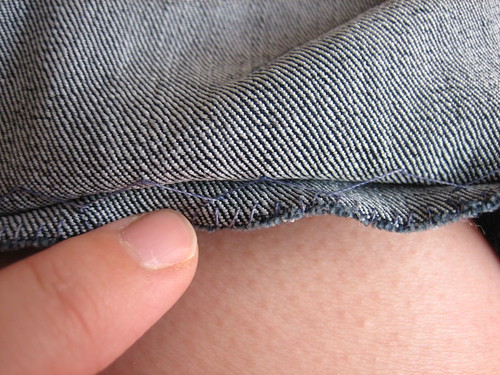
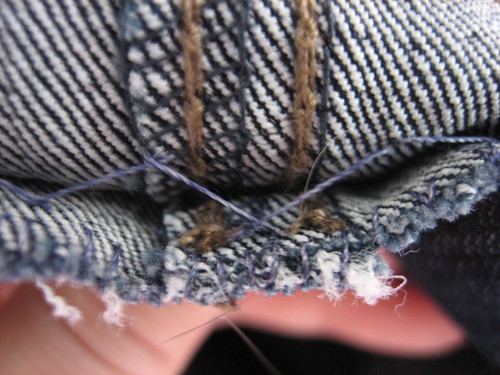
(Sorry about the cat hair. Darn cats!)
For details about the function of these stitches and how to do them, check this out:
Hand Stitches (University of Kentucky)
"Cross your hand" may not be my thing but I can do a mean fell stitch!
Thanks for the useful link re hand stitches. I am reviving the art of hand stitching via a faux Chanel jacket - it is quite therapeutic and satisfying.
ReplyDelete