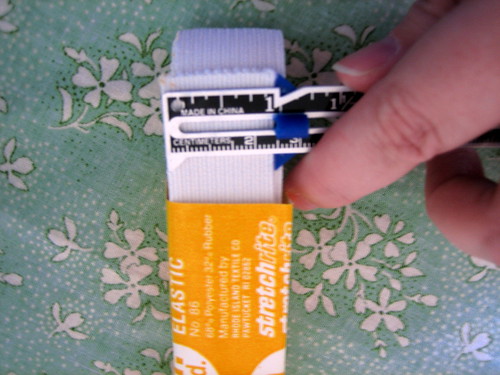
If your pattern already called for a waistband with casing, you will see a waistline marked a couple inches below the top of the pattern piece. If your pattern does not have this already marked, extend the pattern piece two times the width of the elastic plus 5/8-inch. Example: 1-inch elastic, add 2-5/8 inches to the pattern piece (add to the waist height, not width)
Step #2: Finish the raw edge at the waist.
Overlock with a serger, overcast with a sewing machine and overcasting presser foot, or zigzag the edges. Zigzagging the edges isn't ideal as the fabric may curl within the zigzag stitch (see below).

Step #3: Fold over fabric to wrong side (fold over amount = width of elastic plus 1/2-inch).
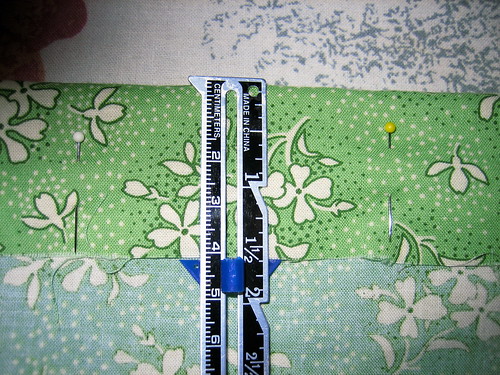
I actually folded over 1-5/8 inches because I intended to turn under 1/4-inch to close the casing (more info in later steps). I folded over and measured all the way around the waistband, pinning as I went. If you place the pins closer to the raw edge, you can press the folded edge without moving the pins.

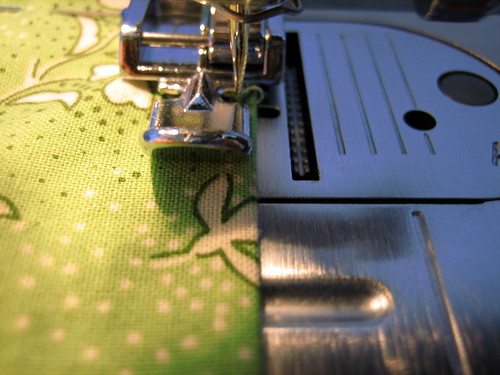
Step #4: Edgestitch close to the folded edge.
Again, having the pins closer to the raw edge means you can leave them in while you stitch. I don't have a presser foot with a guide for accurate edgestitching so I improvised with a zipper presser foot.
This is where my technique differs from the Singer book. The Singer guide then recommends joining the ends of the elastic that you have already pre-measured for your waist. Singer then has you place the elastic underneath the waistband casing, which is edgestitched along one length/edge and open on the other. Then you would use a zipper foot and stitch close to the elastic all the way around the waistband, shifting the fabric around the elastic as you go. This method has one advantage in my opinion, you won't have to insert the elastic into a sewn waistband and try to keep the elastic flat as you are doing this. The disadvantages of this method are: (1) an ugly overcast/zigzagged edge is now visible and makes the garment look home sewn, (2) you must stitch accurately or risk catching the elastic in the seam, and (3) the cumbersome technique of sewing and shifting fabric around the elastic, which has already been stitched in a circle. The following steps are my preferred method for finishing the waistband casing.
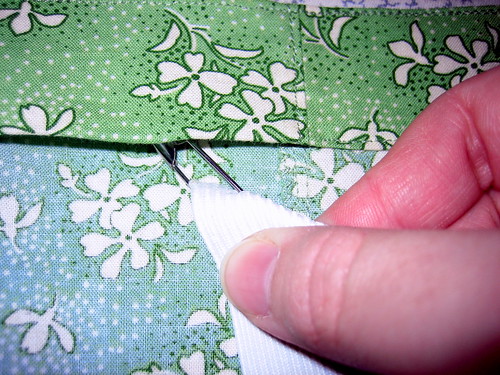
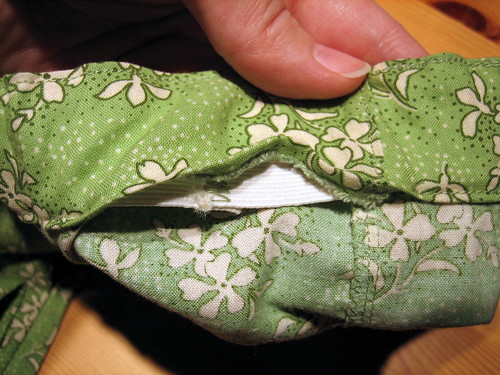
Step #5: Turn under and edgestitch the overcast/zigzagged edge. Insert the elastic.
Turn under the overcast/zigzagged edge of the waistband casing and press. Edgestitch the turned under edge all the way around the waistband but leave a 2-inch opening for inserting the elastic. Insert a large safety pin in one end of the elastic (not too close to the end of the elastic, especially if the elastic ravels easily). Thread the elastic through the sewn waistband casing, shifting the fabric along the elastic as you go. You can pin the other end of the elastic to the opening in the waistband casing to prevent losing it in the casing.
Step #6: Join the ends of the elastic.
When you reach the other end of the casing opening, pull several inches of each end of the elastic out so you can join the ends. You may overlap the ends or butt the ends. In either case, use a wide zigzag or 3-step zigzag stitch.

Step #7: Close the waistband casing opening.
Edgestich closed.

Step #8: Distribute the fabric evenly along the elastic. Stitch in the ditch to anchor the elastic.
After distributing the fabric, you should anchor the elastic at the center front, center back, and 2 side seams of the waistband to keep the fabric evenly distributed. You can use a stitch-in-the-ditch presser foot or a zipper foot.
This post was great! It really helped me with a skirt I was making. Thank You :)
ReplyDelete